Difference between revisions of "Gaggia Brera"
From Whole Latte Love Support Library
(→No Beans Light Stuck On) |
|||
| (25 intermediate revisions by 5 users not shown) | |||
| Line 1: | Line 1: | ||
| − | + | {{Getting-Started | |
| − | | | + | |brand = Gaggia |
| − | | | + | |machine_type = Super-Automatics |
| − | | | + | |product_banner = [[File:Wiki_productpagebanner_1200x175_gaggiabrera_v1.jpg|link=]] |
| − | | | + | |product_page_title = Gaggia Brera |
| − | | | + | |page_type = set up |
| − | | | + | |section1 = How to Adjust Beverages on the Brera |
| + | |anchor1 = Drink Adjustment | ||
| + | |section2 = Install It | ||
| + | |anchor2 = Install It | ||
| + | |section3 = Educate Yourself | ||
| + | |anchor3 = Educate Yourself | ||
| + | |section4 = Get the Right Beans | ||
| + | |anchor4 = Get the Right Beans | ||
| + | |section5 = Find the Right Grind | ||
| + | |anchor5 = Find the Right Grind | ||
| + | |section6 = Get Frothing | ||
| + | |anchor6 = Get Frothing | ||
| + | |section7 = Froth Better | ||
| + | |anchor7 = Froth Better | ||
| + | |section8 = Frothing and Habits to Avoid | ||
| + | |anchor8 = Frothing Mistakes | ||
| + | |section9 = Steam & the Heating Sweet Spot | ||
| + | |anchor9 = Steaming Temperature | ||
| + | |section10 = Steam with Thermometers | ||
| + | |anchor10 = Steam with Thermometers | ||
| + | |section11 = The Gaggia Latte Art Wand | ||
| + | |anchor11 = Latte Art Wand | ||
}} | }} | ||
| + | ===How to Adjust Beverages on the Brera=== | ||
| + | {{Content-Columns | ||
| + | |column_1 = | ||
| + | The Gaggia Brera, although a relatively simple machine is very customizable when it comes to your beverage options. By adjusting grind size, aroma strength and liquid volume, you can achieve a beverage that is custom tailored to your liking. In general, we recommend a fine grind setting, a liquid volume between 1 ounce and 1 and a quarter ounce, and an aroma strength setting of 3 beans for espresso, and for a long coffee we recommend a medium to coarse grind setting, a liquid volume between 3 ounces and 4 ounces, and an aroma strength setting of 3 beans. The video on the right will show how to make these adjustments to ensure you are getting the most out of your Gaggia Brera. | ||
| − | + | '''Brera Coffee Length Programming''' | |
| + | # Turn the machine on, bring it out of stand-by mode, and have it ready for use, with water and beans. | ||
| + | # Press and hold the button you wish to program (in this case, the small button), until the cup icon blinks on the screen-release the button. | ||
| + | # The machine will begin to grind, and then brew-when the brew gets to just about the level you are looking for in your cup, press the same button (in this case, the small button), but do not hold it, to stop the brewing process. The icon will blink for another moment, and then it will save your new setting. | ||
| − | + | This can be done for both buttons, though with the larger size, the two cup icon will blink on the screen. | |
| − | + | |column_2 = | |
| − | + | [[File:Wiki-YT-HowtoAdjustGrindSizeSettingsBrera.jpg|link=https://youtu.be/m5i4-Bp4Gco]] | |
| − | + | |media_caption = Brera Drink Adjustment | |
| − | + | }} | |
| − | + | ---- | |
| − | + | {{Super-Set-Up-Content | |
| − | + | |steam_wand =yes | |
| − | + | |pannarello =yes | |
| − | + | ||
| − | + | ||
| − | + | ||
| − | + | ||
| − | + | ||
| − | + | ||
| − | + | ||
| − | + | ||
| − | + | ||
| − | + | ||
| − | + | ||
| − | + | ||
| − | + | ||
| − | + | ||
| − | + | ||
| − | + | ||
| − | + | ||
| − | + | ||
| − | + | ||
| − | + | ||
| − | + | ||
| − | + | ||
| − | + | ||
| − | + | ||
| − | + | ||
| − | + | ||
| − | + | ||
| − | + | ||
| − | + | ||
| − | + | ||
| − | + | ||
| − | + | ||
| − | + | ||
| − | + | ||
| − | + | ||
| − | + | ||
| − | + | ||
| − | + | ||
| − | + | ||
| − | + | ||
| − | + | ||
| − | + | ||
| − | + | ||
| − | + | ||
| − | + | ||
| − | + | ||
| − | + | ||
| − | + | ||
| − | + | ||
| − | + | ||
| − | + | ||
| − | + | ||
| − | + | ||
| − | + | ||
| − | + | ||
| − | + | ||
| − | + | ||
| − | + | ||
| − | + | ||
| − | + | ||
| − | + | ||
| − | + | ||
| − | + | ||
| − | + | ||
| − | + | ||
| − | + | ||
| − | + | ||
| − | + | ||
| − | = | + | |
| − | + | ||
| − | + | ||
| − | + | ||
| − | + | ||
| − | + | ||
| − | + | ||
| − | + | ||
| − | + | ||
| − | + | ||
| − | + | ||
| − | + | ||
| − | + | ||
| − | + | ||
| − | + | ||
| − | + | ||
| − | {{ | + | |
| − | | | + | |
}} | }} | ||
| − | |||
| − | |||
| − | |||
| − | |||
| − | |||
| − | |||
| − | |||
| − | |||
[[Category:Gaggia]] | [[Category:Gaggia]] | ||
| − | |||
Latest revision as of 08:53, 21 September 2018


How to Adjust Beverages on the Brera
The Gaggia Brera, although a relatively simple machine is very customizable when it comes to your beverage options. By adjusting grind size, aroma strength and liquid volume, you can achieve a beverage that is custom tailored to your liking. In general, we recommend a fine grind setting, a liquid volume between 1 ounce and 1 and a quarter ounce, and an aroma strength setting of 3 beans for espresso, and for a long coffee we recommend a medium to coarse grind setting, a liquid volume between 3 ounces and 4 ounces, and an aroma strength setting of 3 beans. The video on the right will show how to make these adjustments to ensure you are getting the most out of your Gaggia Brera.
Brera Coffee Length Programming
- Turn the machine on, bring it out of stand-by mode, and have it ready for use, with water and beans.
- Press and hold the button you wish to program (in this case, the small button), until the cup icon blinks on the screen-release the button.
- The machine will begin to grind, and then brew-when the brew gets to just about the level you are looking for in your cup, press the same button (in this case, the small button), but do not hold it, to stop the brewing process. The icon will blink for another moment, and then it will save your new setting.
This can be done for both buttons, though with the larger size, the two cup icon will blink on the screen.
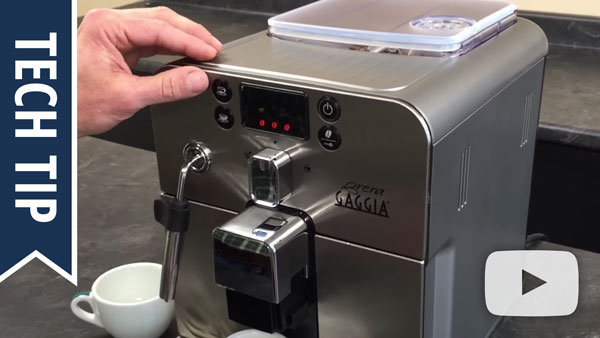
Brera Drink Adjustment
Install It
- Find a swanky spot in your home for your new machine to live, preferably where the morning sun shine down on your new, personal barista.
- Get the power cord and the accessories out of the box.
- Plug the machine directly into an outlet. Don't plug it into surge protectors, extension cords, or timers.
- Fill the water tank.
Educate Yourself
There are a few things you should know before heating up your super-auto for the first time to keep the the espresso flowing and the milk frothing. In the video on the right, you'll learn all about recommended roasts, water hardness, grind settings, milk frothing and the brew group—or, as we like to think of it, your super-auto's inner barista.
5 Things New Super Automatic Espresso Machine Owners Should Know
Get the Right Beans
Coffee is all about the caffeine (er... flavor), and super-autos don't disappoint, though, they are a teensy bit picky when it comes to certain roasts. In particular, super-autos are oily-bean-averse, meaning they don't like extra dark or flavored beans, as they tend to gunk up the grinder. Watch the video on the right to learn how to choose the beans of your dreams and keep your grinder clean.
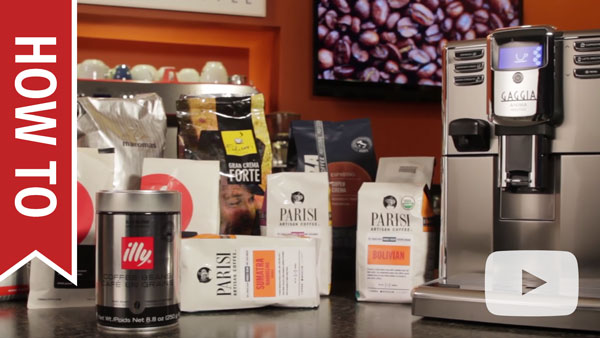
How To: Coffee Bean Selection and Grind Settings for Bean to Cup Machines
Find the Right Grind
Consistency is key when it comes to grind size. With super-autos, you can just set it and forget it, but it's good to know how to fine tune for your favorite roasts. A good rule of thumb to keep in mind: light roasts and small volumes such as in espresso need a finer grind, while dark roasts and long coffees favor a coarser grind. Watch the video on the right to learn more.
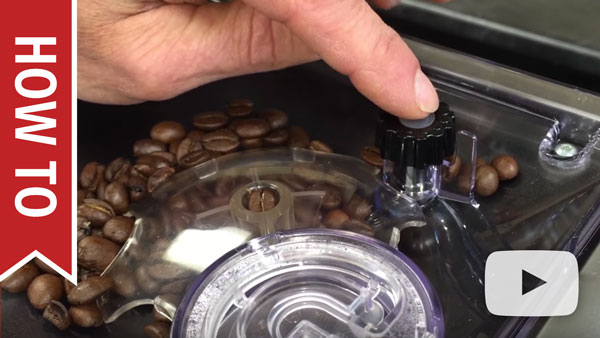
How To Adjust Grind Size on a Super Automatic Espresso Machine
Get Frothing
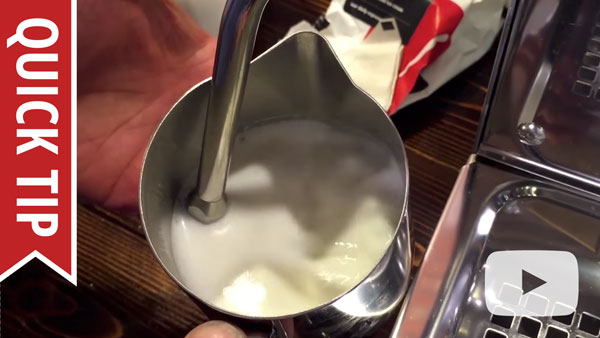
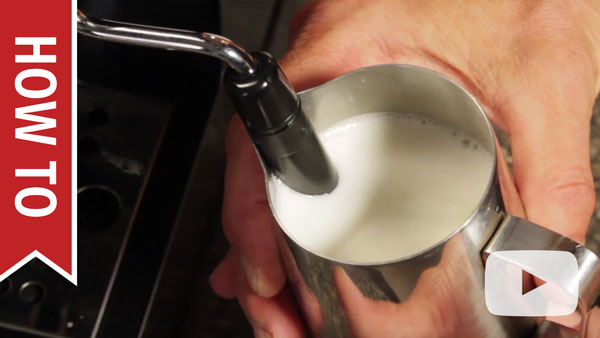
If you like cappuccinos, lattes, Flat Whites, and other milk drinks, you're gonna need to know how to froth.
Milk Frothing for Beginners
Froth Better
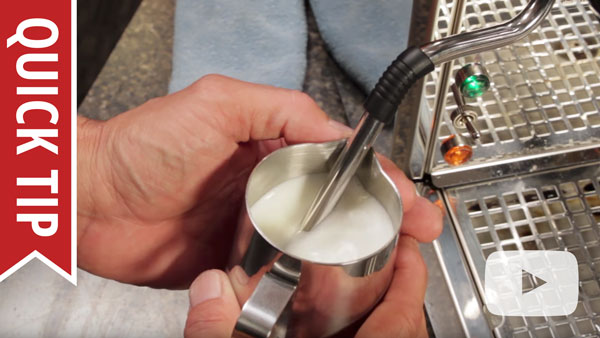
For a few quick tips to improve your frothing technique, check out the video on the right. You'll learn a few tricks to make your drinks even better.
Quick Tip: Five Basic Tips for Frothing Milk
Frothing and Habits to Avoid
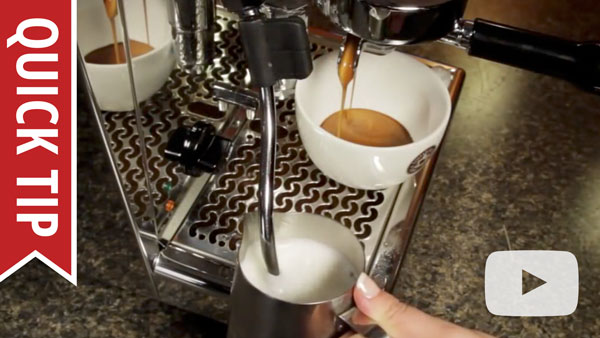
Frothing can be a delicate process. There's a number of mistakes you can make that really bring down the quality of your drinks. Check out the video on the right to learn some easy things you can avoid going forward.

Quick Tip: Six Common Milk Frothing Mistakes
Steam & the Heating Sweet Spot
The literal sweet spot for steaming milk falls between 140°F and 155°F, with smaller drinks on the lower end and larger drinks on the higher end. A quick rule-of-thumb we follow is to steam just until the frothing pitcher becomes a little too hot to hold comfortably.
What is the Best Temperature for Latte Milk?
Steam with Thermometers
If you're using a thermometer, you'll want to learn about lag time and how to read a frothing thermometer to correctly gauge the steaming process.
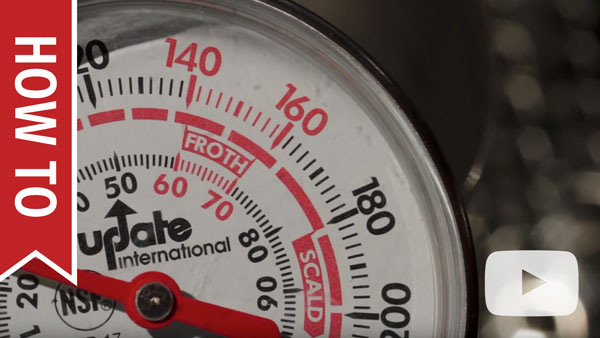
How to Use a Thermometer When Frothing Milk for Latte and Cappuccino
The Gaggia Latte Art Wand
Most Gaggia machines come standard with their specially designed pannarello wand, which automatically aerates milk while frothing to produce a fluffy cappuccino froth, but the latte art wand is closer to a commercial style wand, which lets the user cut down on the air for a liquidy latte milk. Check out the video on the right for tips on how to perfect your technique for latte milk smooth enough to draw flowers, or, you know, "galaxies."
How To: The Gaggia Latte Art Pannarello Wand